
Congratulations to our very own Barron County Fair entrant who earned PURPLE on this Wool and Sheep Educational display. White Pine Wool kits were even a part of it! Beautifully done! – July 2025
Congratulations to our very own Barron County Fair entrant who earned PURPLE on this Wool and Sheep Educational display. White Pine Wool kits were even a part of it! Beautifully done! – July 2025
Trim your tree with this natural wool ball, decorated with a Holly & Berry design!
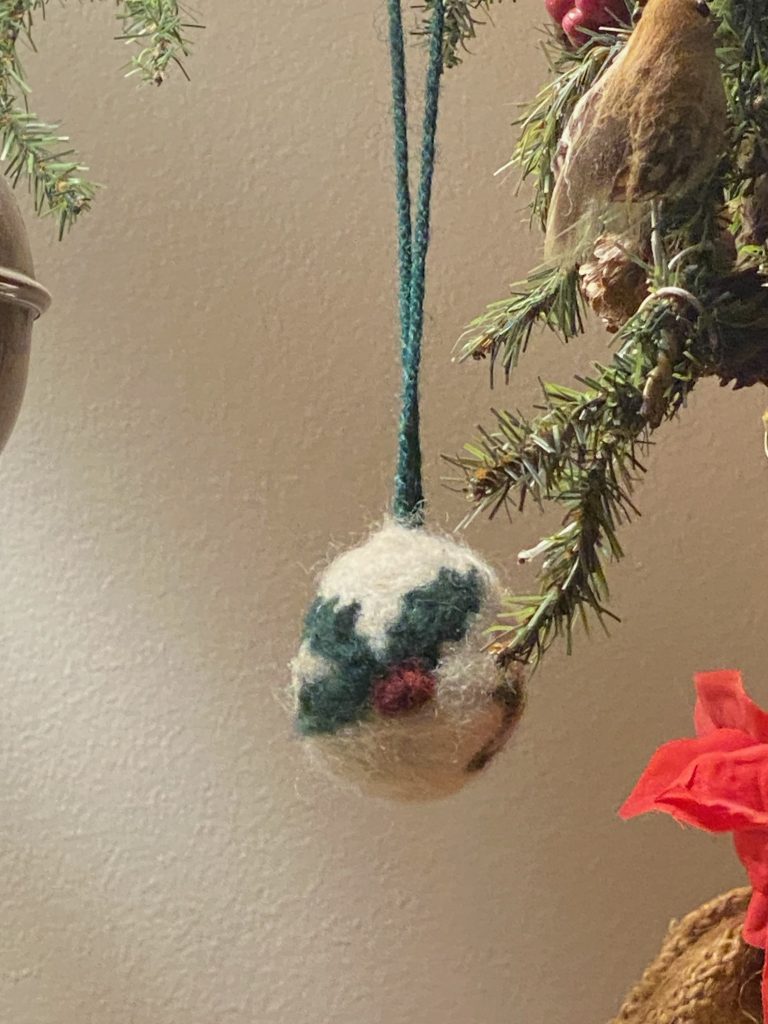
This 5 g. mini-kit contains the wool and yarn you need to create the ornament.
This makes a great hand-made gift or give the kit to your favorite crafter!
Kit contains:
Not included:
Weight/Quantity: 5 g. wool
From Rain to Shine… it became a beautiful day!
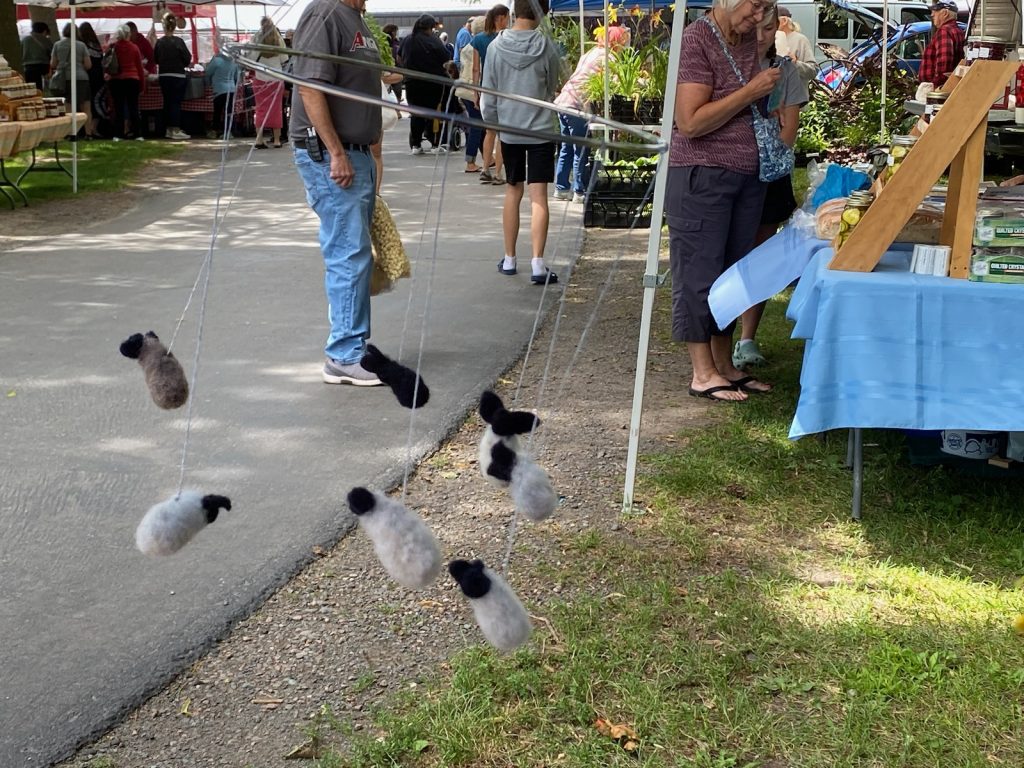
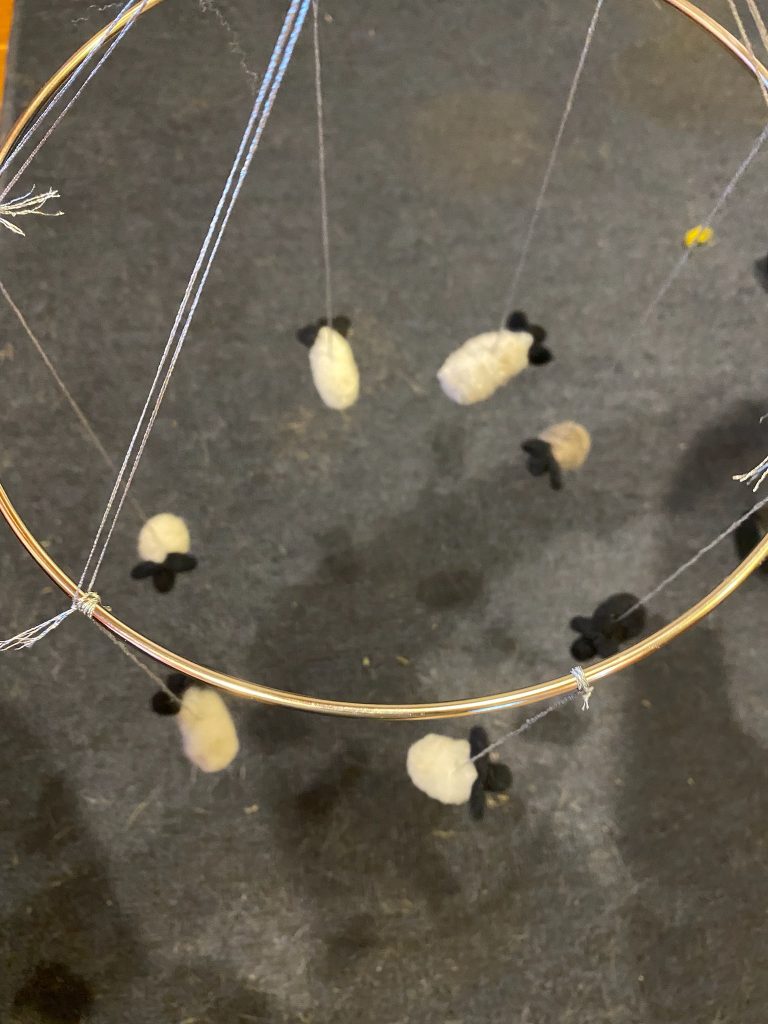
Last week’s Sleepy Sheep Mobile on display.
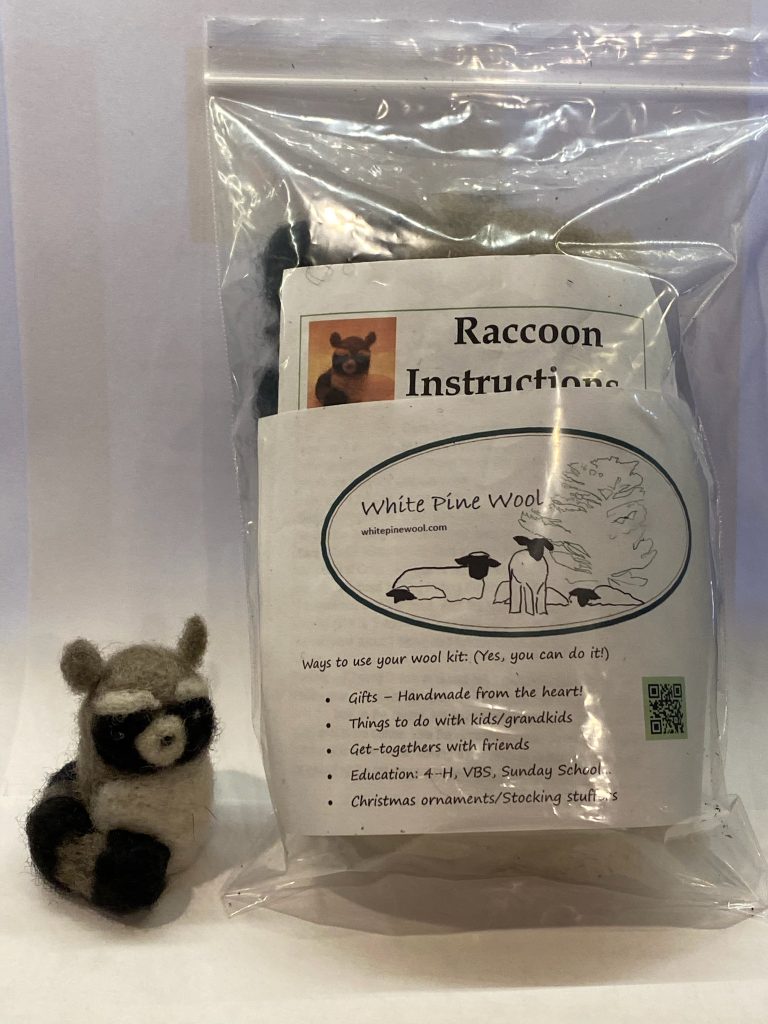
New Project of the week: Raccoon Kits! (Select ‘Raccoon’ in the Wooly Animal Kit Product.)
Looking forward to seeing you at the market again!
Create your own Raccoon with this kit!
Finished size varies by design, approximately 2″ x 3″
Included in kit:
Not included in kit:
* The Black wool in the Raccoon Kits was the last of the Black wool on hand. New Black wool will be coming soon.
Enjoy!

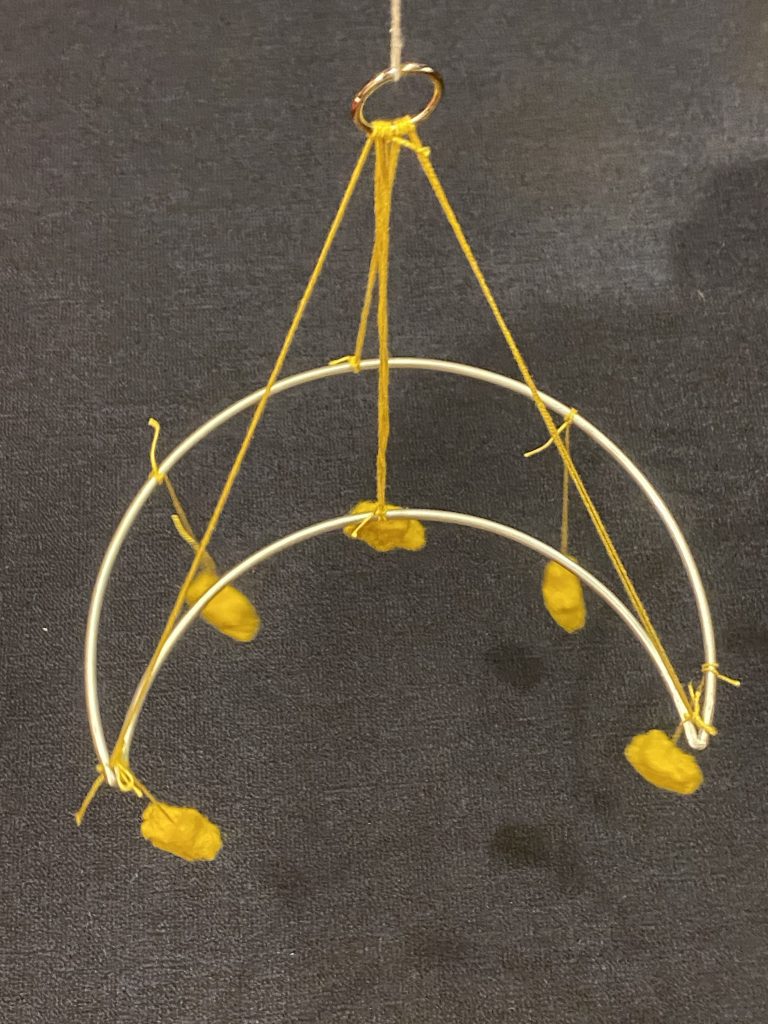
New Project #8 – Mobiles…
Starting with small needle felted objects, macrame rings and floss/string, create your own mobile for a nursery or window! Kits available for Moon-and-Stars Mobile and Sleepy Sheep Mobile.
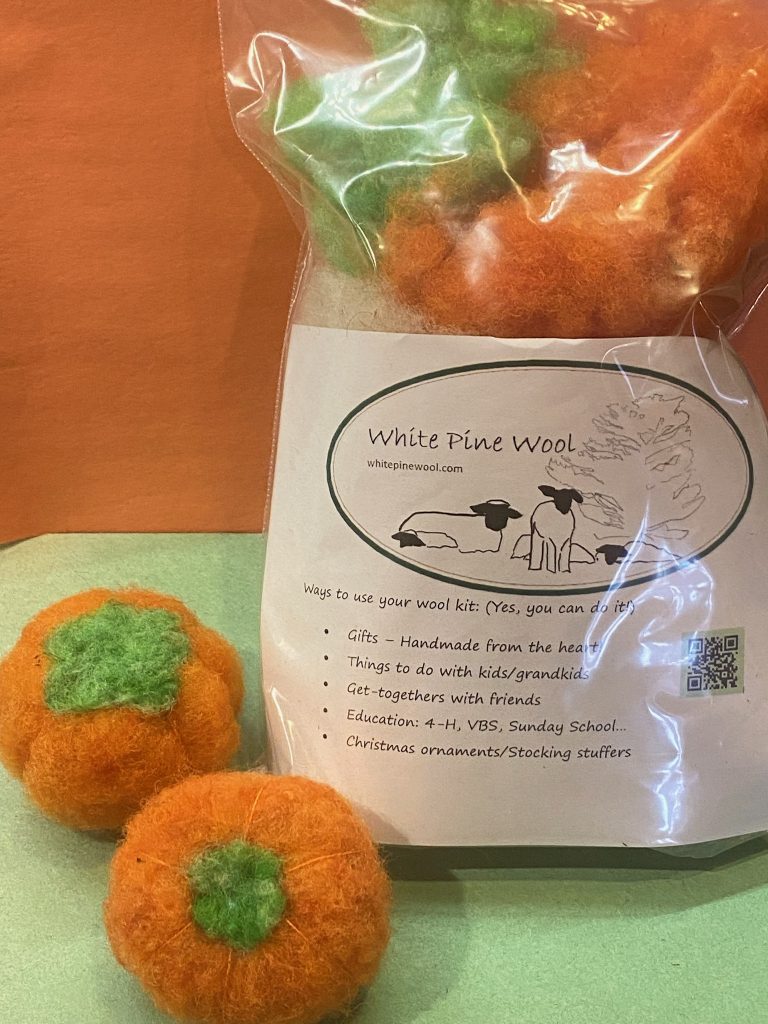
Core – (Cream) Divide in ½. Roll each section into a 2” wide ball and prick with the felting needle until it holds together.
Outside – (Orange) Divide in ½; Wrap each ½ around a ball and felt it into place.
Ridges – (Orange Floss) Cut in ½ (about 10”). For each ½, put a knot at one end, and use a large-eyed needle to thread the other end. Starting at the center bottom of each pumpkin, pull the thread through the pumpkin so the end is hidden, then bring the threaded needle back down through the pumpkin next to this spot and remove the needle. Separate the 6 threads of the embroidery floss, and for each thread, thread it on the needle, reach it around to the top center of the pumpkin and bring it down through the center of the pumpkin. When finished, all 6 threads should be coming out the bottom of the pumpkin. Thread these once again on the needle, bring through the pumpkin to the top, knot, trim, and push back into the pumpkin.
Stem – (Green) Using ½ the green, felt to the top of the pumpkin, either in the shape of the stem or the shape when the stem is broken off.
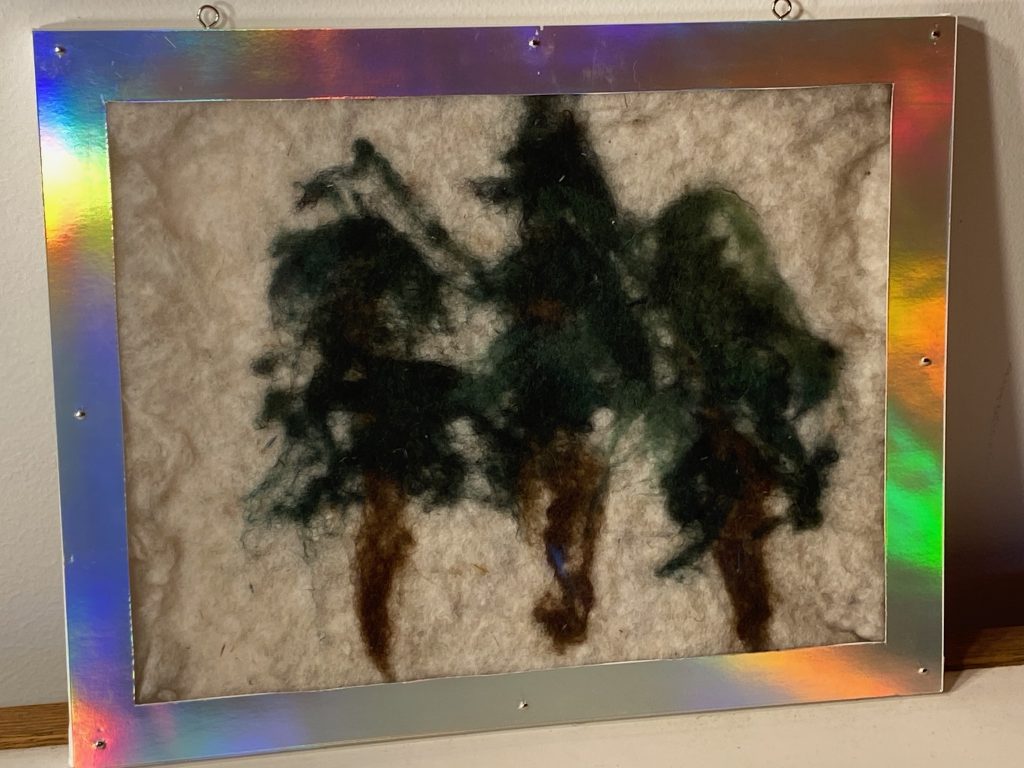
Create this Wet Felting design of Three Pines!
Finished size varies, but approximately 11″ x 14″
Included in kit:
Not included in kit:
Enjoy!
New Products this week: Rabbit kits, Project #3 – “Our Flag” Wet Felting kits
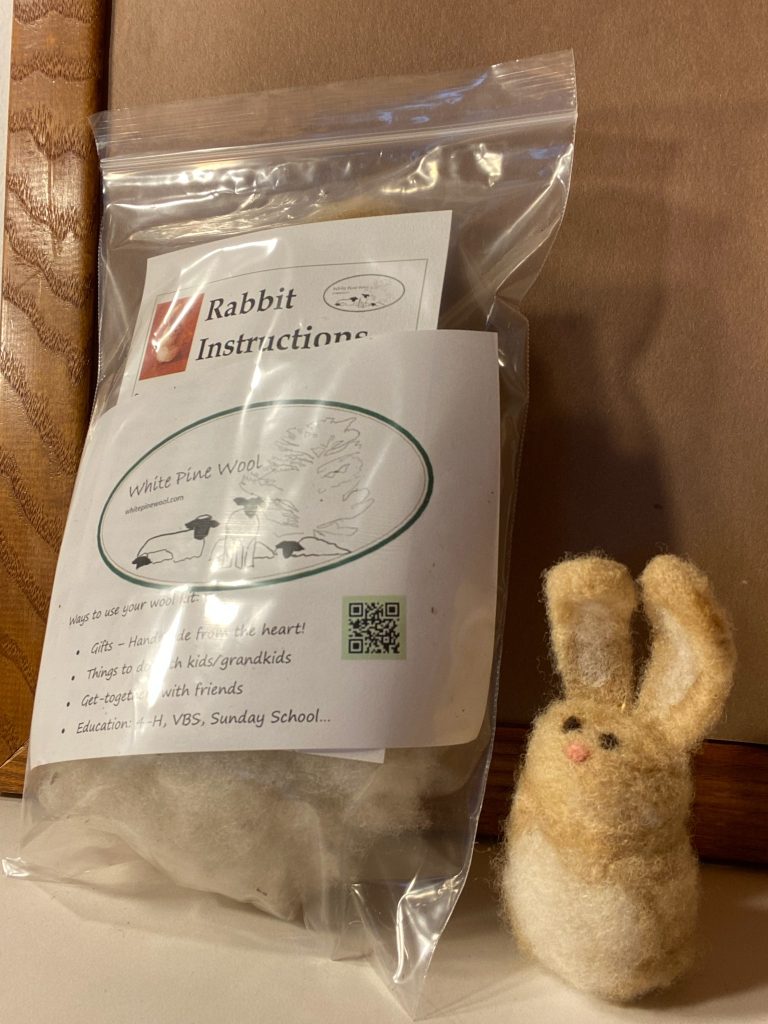
Online tip:
When looking for a particular animal kit at the link above, choose the ‘animal’ selector in the middle of the page. Otherwise the default animal will be selected (a bumble bee) even if you are scrolling through the photos.
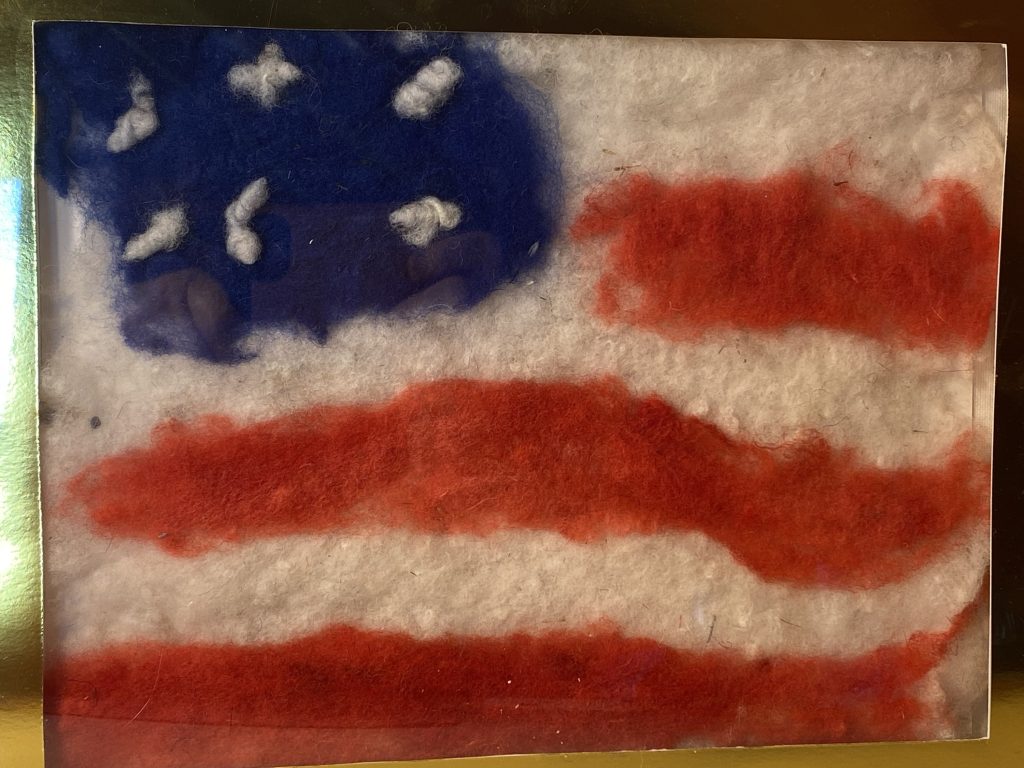
Project #3 – “Our Flag” Wet Felting kits
Thankful for another great day at the market, despite the rain! Newsletter signup and feedback was great!
More great wool sources and fun resources:
Summer 2024
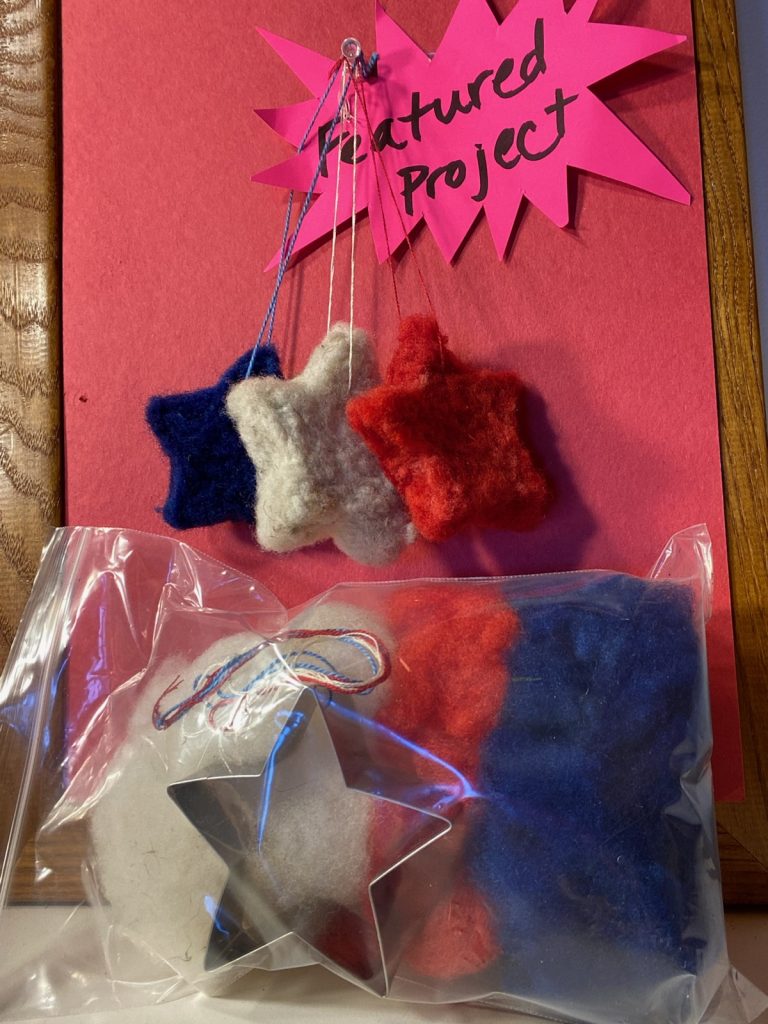
July 4th Stars
Kits available – No instructions needed! Simply use your felting needle to punch down the wool into the cookie cutter, flip it over and repeat! Possibly firm up the edges after taking it out of the cookie cutter, add a thread hanger, and Voila! Fun July 4th Stars to add to your porch lights or the string of lights on your patio/deck!
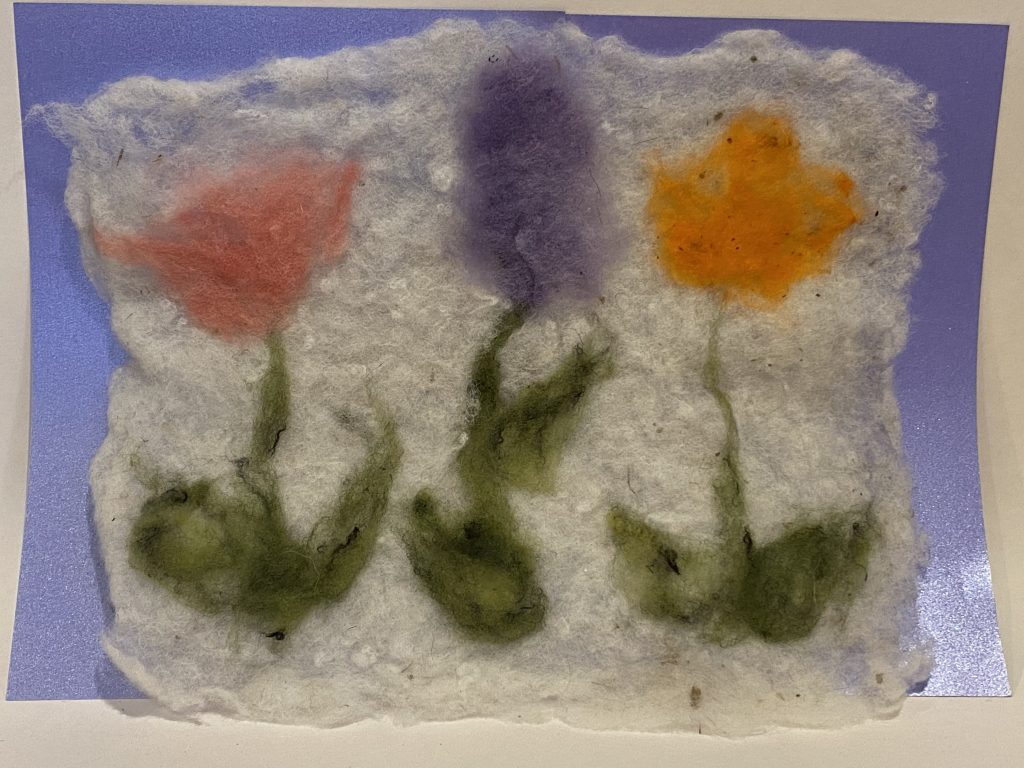
Spring Flowers Wet Felting kits contain everything you need to make 8 1/2 x 11 felt art.
Contents:
White wool batting approximately 8″ x 8″
Green wool (stems & leaves)
Pink, orange, and purple wool (tulips and hyacinth)
2 sheets of small bubble wrap (8.5″ x 11″ each)
1 piece of netted fabric (tulle) about 8.5″ x 11″
Instructions included