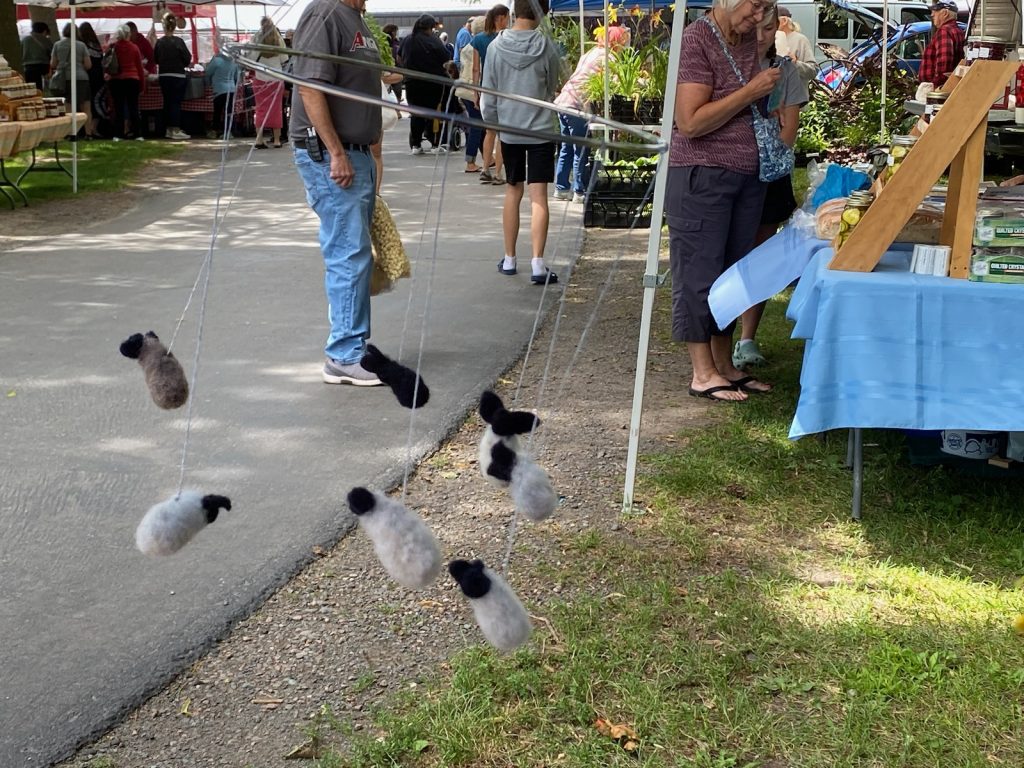
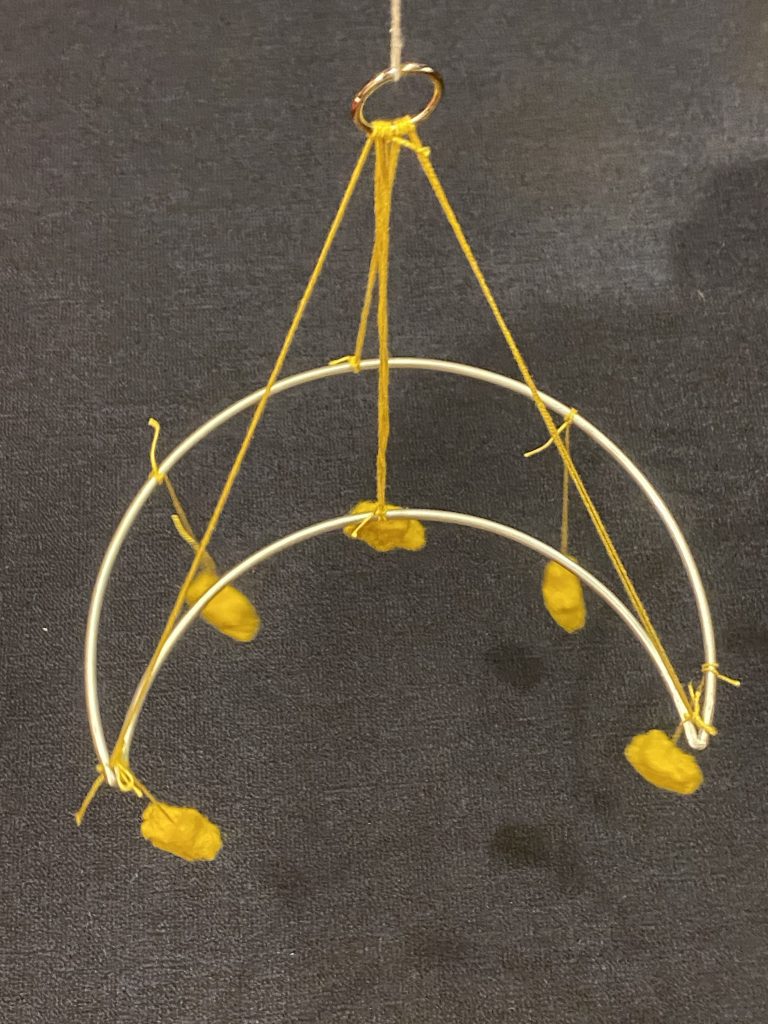
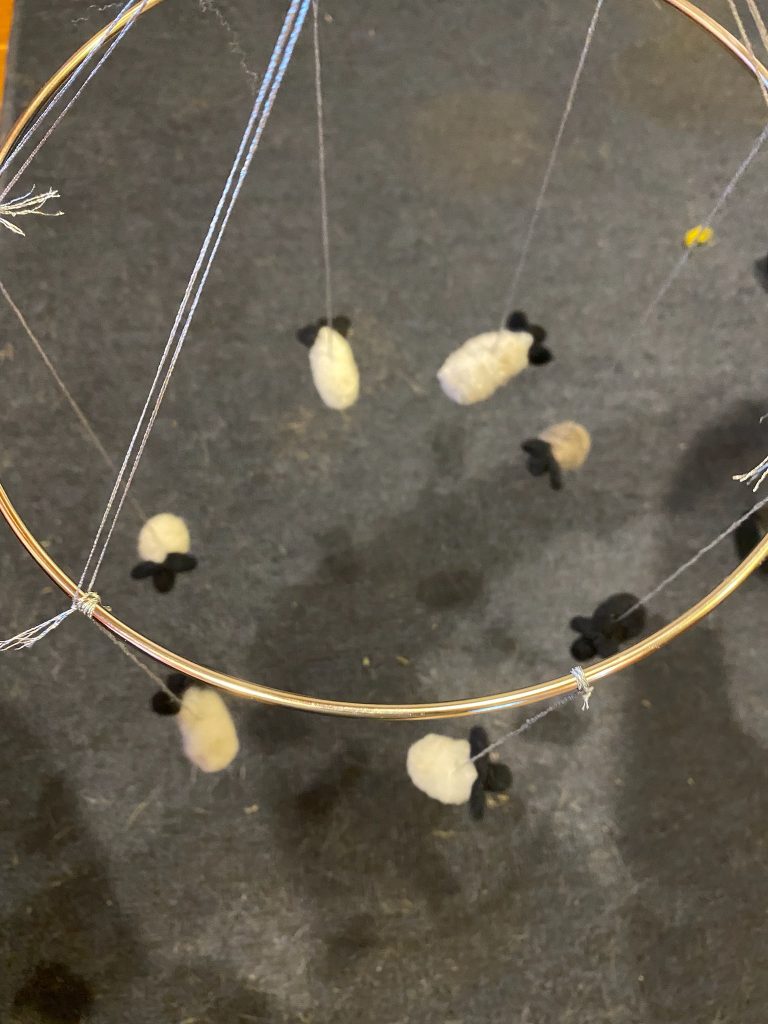
Starting with small needle felted objects, macrame rings and floss/string, create your own mobile for a nursery or window! Kits available for Moon-and-Stars Mobile and Sleepy Sheep Mobile.
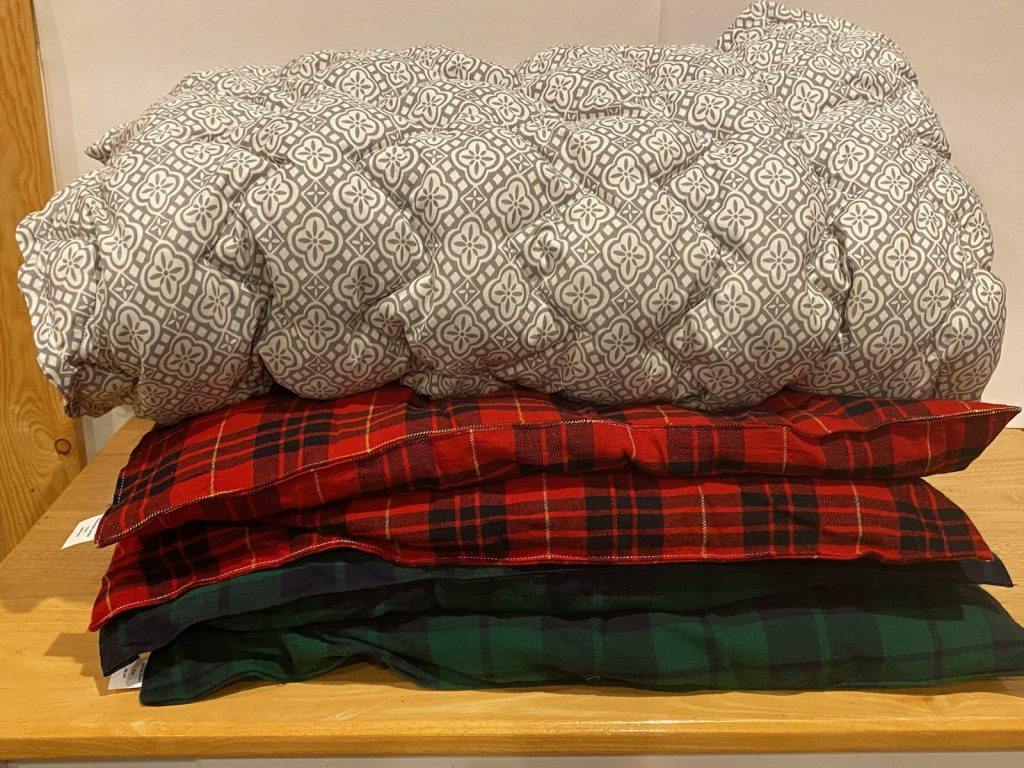
The duvet in this photo (on top of the two infant quilts), is made using a twin sheet folded in half with a geometric pattern. Sewing along the pattern, and stuffing handfuls of lambswool as I went, yielded a bumpy but comfortable duvet pad. It was firmer than I expected and would work well as a camping pad. To keep the finished end of the duvet from becoming too large for the sewing machine, I discovered that when I reached the end of the row, I could flip the entire duvet to the other side (and continue sewing from that spot) which kept the finished end of the duvet on the left of the sewing machine. Interested in trying to make one? Check out our lambswool stuffing!
Used in the duvet project above, this wool has been skirted and washed and is all set to go for a duvet project. Other uses to consider: camping pads, lining a quilted vest, or very lightweight pillows.
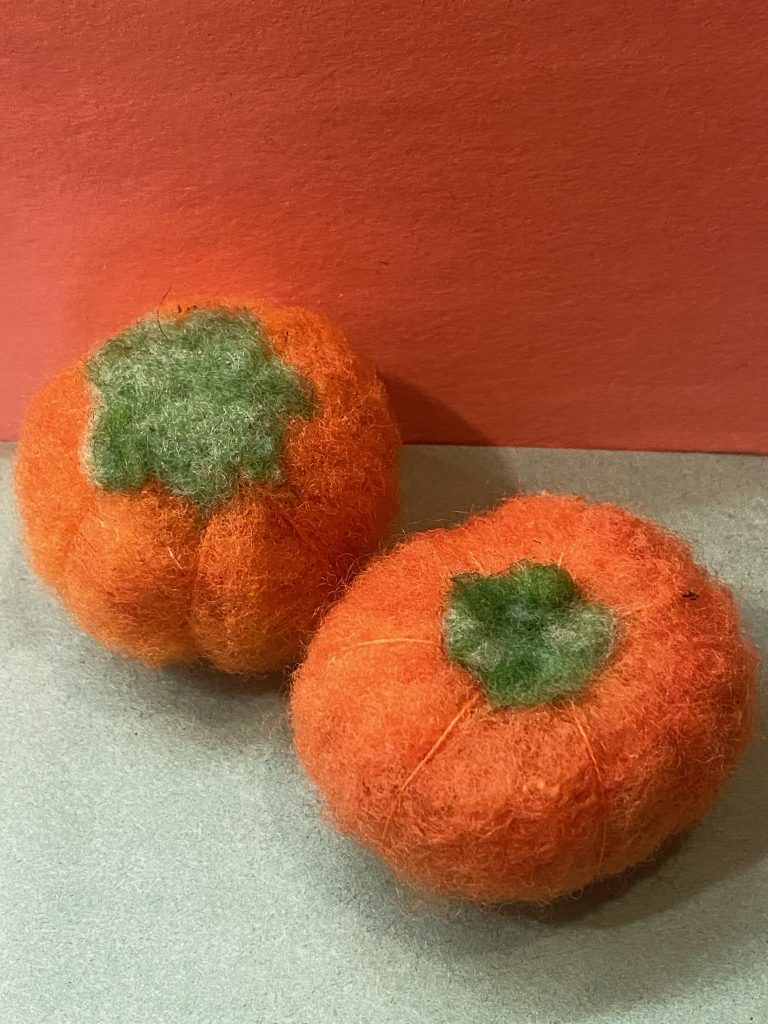
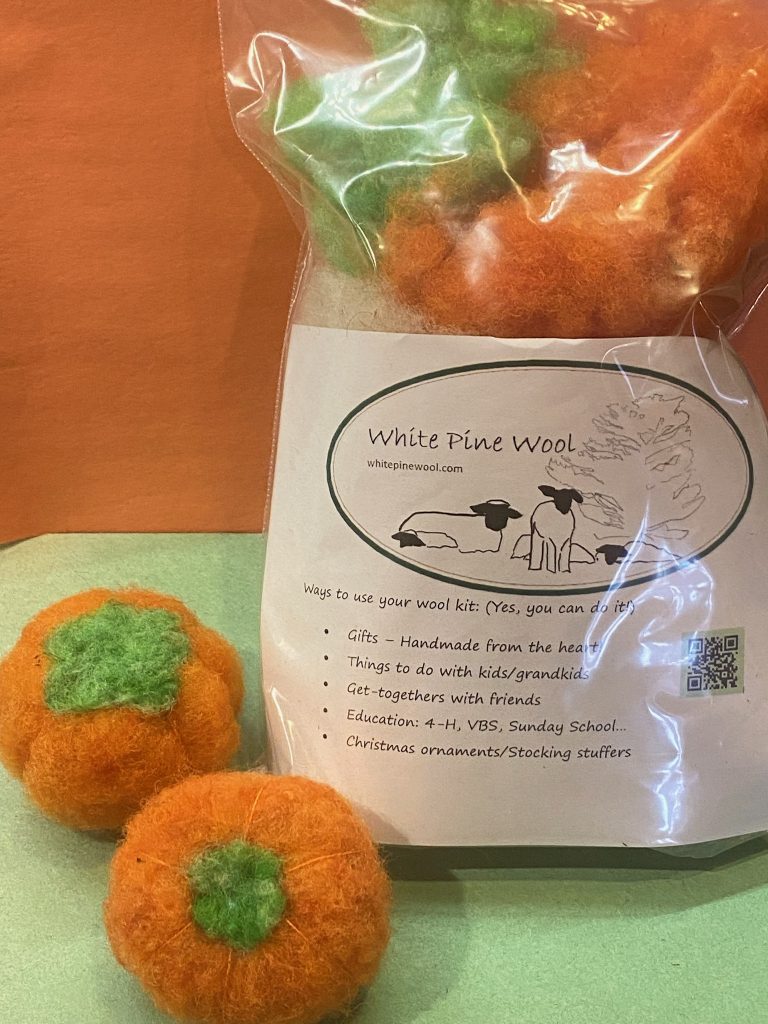
Core – (Cream) Divide in ½. Roll each section into a 2” wide ball and prick with the felting needle until it holds together.
Outside – (Orange) Divide in ½; Wrap each ½ around a ball and feltit into place.
Ridges – (Orange Floss) Cut in ½ (about 10”). For each ½, put a knot at one end, and use a large-eyed needle to thread the other end. Starting at the center bottom of each pumpkin, pull the thread through the pumpkin so the end is hidden, then bring the threaded needle back down through the pumpkin next to this spot and remove the needle. Separate the 6 threads of the embroidery floss, and for each thread, thread it on the needle, reach it around to the top center of the pumpkin and bring it down through the center of the pumpkin. When finished, all 6 threads should be coming out the bottom of the pumpkin. Thread these once again on the needle, bring through the pumpkin to the top, knot, trim, and push back into the pumpkin.
Stem – (Green) Using ½ the green, felt to the top of the pumpkin, either in the shape of the stem or the shape when the stem is broken off.
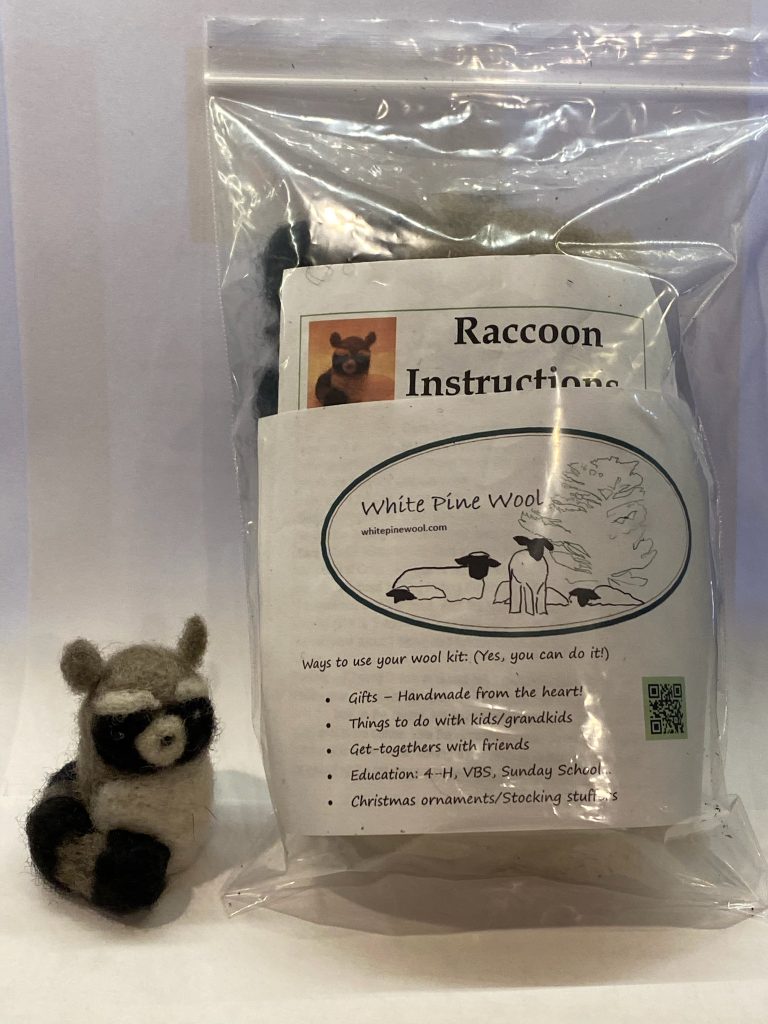
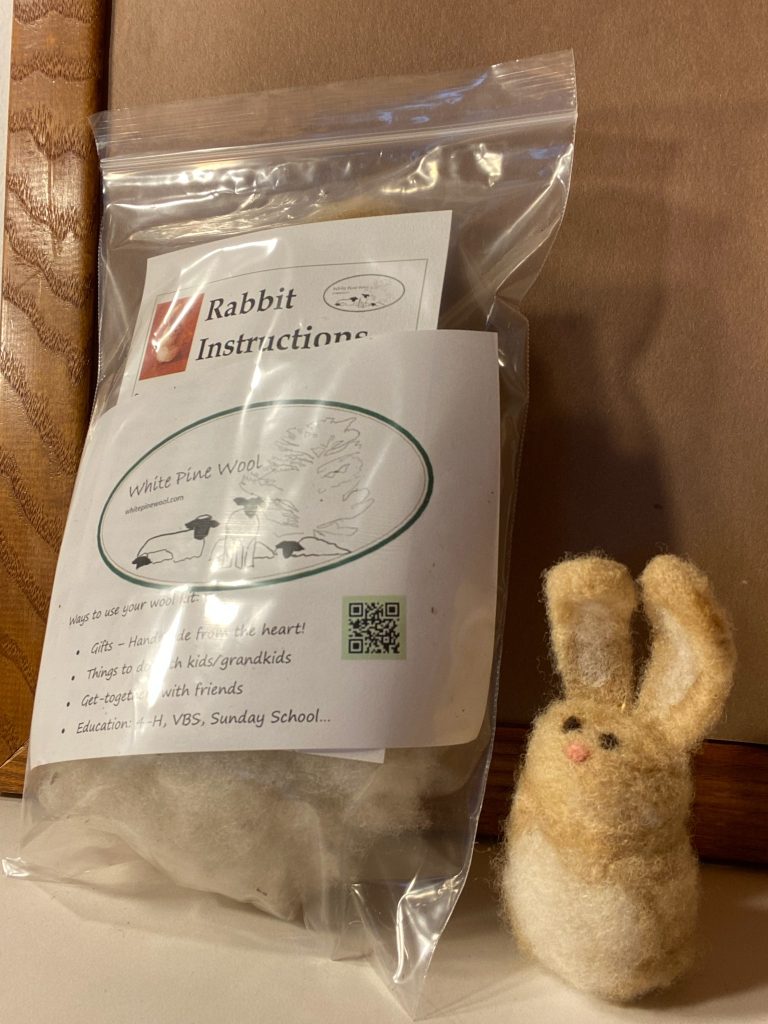
When looking for a particular animal kit at the link above, choose the ‘animal’ selector in the middle of the page. Otherwise the default animal will be selected (a bumble bee) even if you are scrolling through the photos.
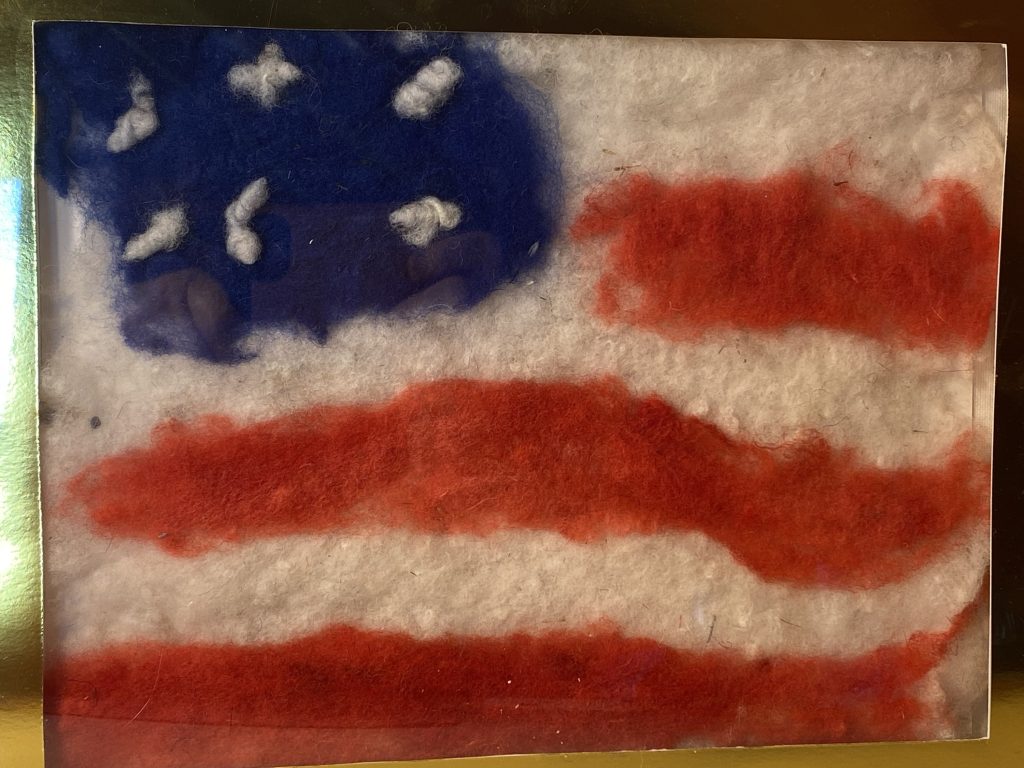
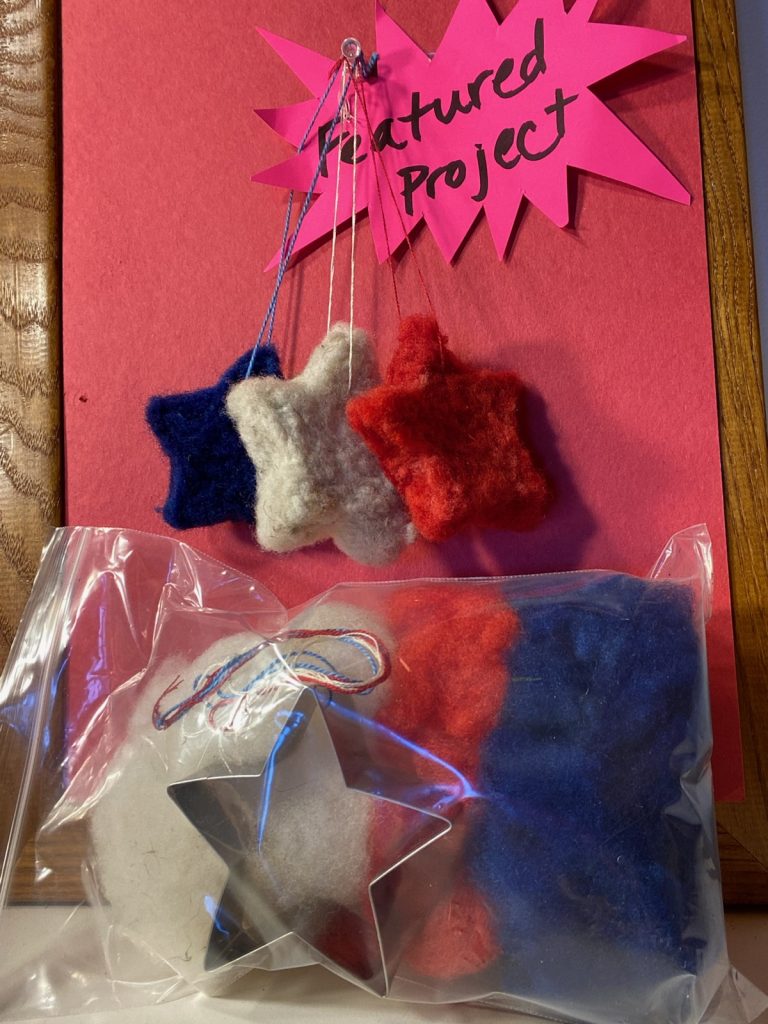
Kits available – No instructions needed! Simply use your felting needle to punch down the wool into the cookie cutter, flip it over and repeat! Possibly firm up the edges after taking it out of the cookie cutter, add a thread hanger, and Voila! Fun July 4th Stars to add to your porch lights or the string of lights on your patio/deck!