Do you have a fleece? You can do so much with it!
Here’s how:
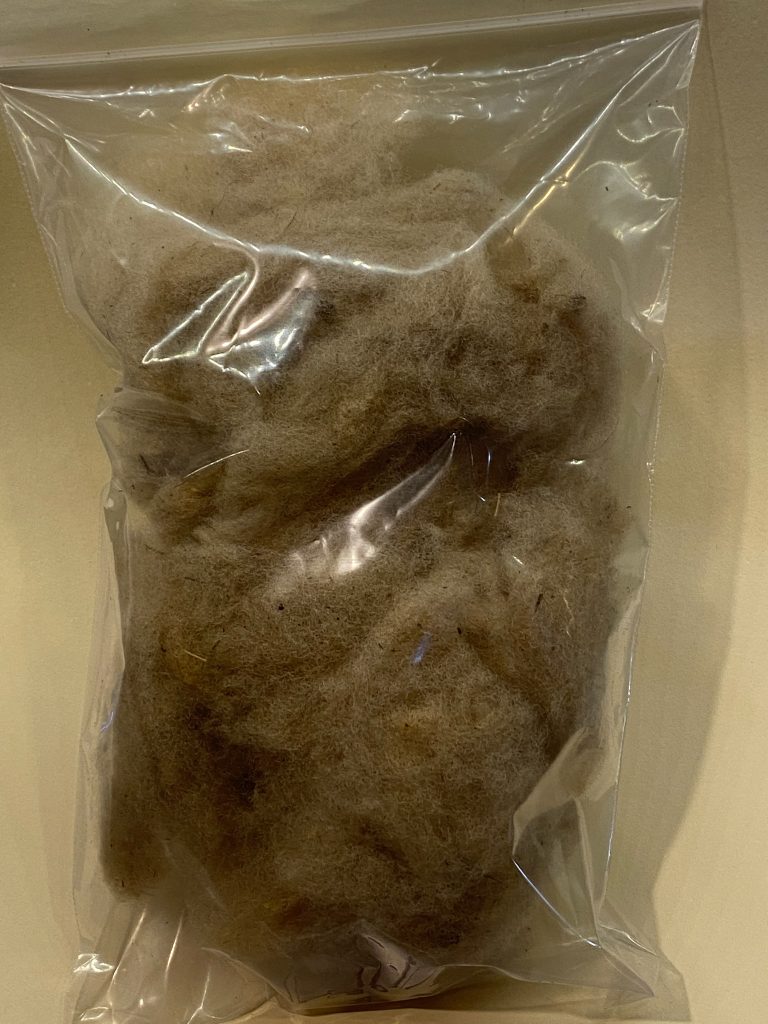
- Use it raw:
- Insulate a bee hive with it.
- Insulate a chicken coop with it.
- Use it in nesting boxes
- Use it as garden mulch (but beware of burrs and seed heads that might sprout!)
- Skirt your fleece
- How: Set up chicken wire on top of a hog panel resting on 2 sawhorses (or build one with hardware cloth stretched on a frame). Gently unroll your fleece outdoors or somewhere that can handle the mess. Remove grass, burrs, ‘buffalo chips,’ seed heads, and any other vegetative matter (VM) that you wouldn’t want in a sweater. This may take around an hour.
- Use it now: as garden mulch.
- Wash your fleece (& Dry it)
- How to wash it: Using a top-loading washing machine, fill the washer with the hottest water possible, adding your favorite family laundry soap. When it is full, sink your fleece into the hot soapy water so that it is submerged, MAKING VERY CERTAIN THAT YOU DO NOT SHUT THE LID ON YOUR WASHER! IF YOU DO, IT WILL RUN THE AGITATOR! (This is the key step.) Let it soak for 2-3 hours, then turn the dial to the final ‘Spin’ and finish the cycle. Remove the wool (possibly set it on a garbage bag), refill the tub (again with the hottest water possible) and try 1/4 c of Dawn dish soap (or another soap of your choice!), gently submerge your wool, MAKING SURE NOT TO SHUT THE LID!!, soak it for another 2 hours, go to the final spin and spin it out, and it usually smells wonderful, feels wonderful, and looks MUCH cleaner! If you need to repeat with another wash, or strictly a rinse, that works, but usually 2 washes is enough.
- How to dry your fleece: Setting it outside on the hog panel might work if it’s not windy, or letting it drip in the garage onto a tarp might work if you have a clean (& fresh smelling) garage, but my favorite method is to put a folding (A shape) laundry rack in a tub in the bathroom with a dehumidifier and leave it for 24 hours, turning the fleece over about 1/2 way through. It will smell wonderful and feel great, and you will probably still find a few burrs or things that you missed in skirting.
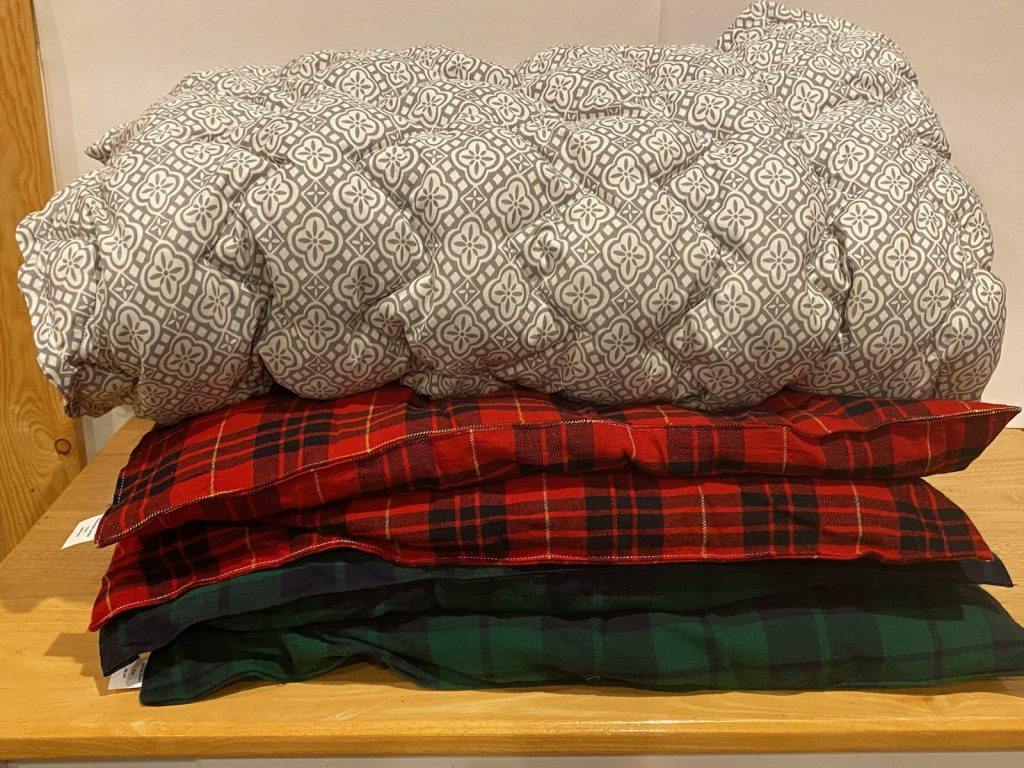
- Use it now: This stage makes great stuffing for pillows and duvets!
- Card your fleece
- How: Use carding brushes (try dog brushes?) to brush it into a ‘cloud,’ or a gently crank it through a drum carder to align the fibers (this produces a batt approximately 8″ x 12″).
- Use it now: Spin it into yarn, use it as batting in a quilt, make dryer balls by twisting long strands as if you were rolling up yarn and then washing/drying them in a pair of nylons, or use it in wet felting to make placemats or insoles…
- Dye your fleece
- How: (Rule #1: use separate pots/utensils for dying than for eating) There are wonderful books and online resources for how to dye wool, but a quick and easy way is to heat 2 cups of vinegar, 1 gallon of water, and a small container of food coloring, submerge about 2 – 4 ounces of wool, and keep it at a low simmer for 20 – 30 minutes. Rinse in cold water until the rinse is clear. You can also use Koolaid and Rit Dye this way, but other great options to research are using Onion skins, Coffee, Avacados, and plants.
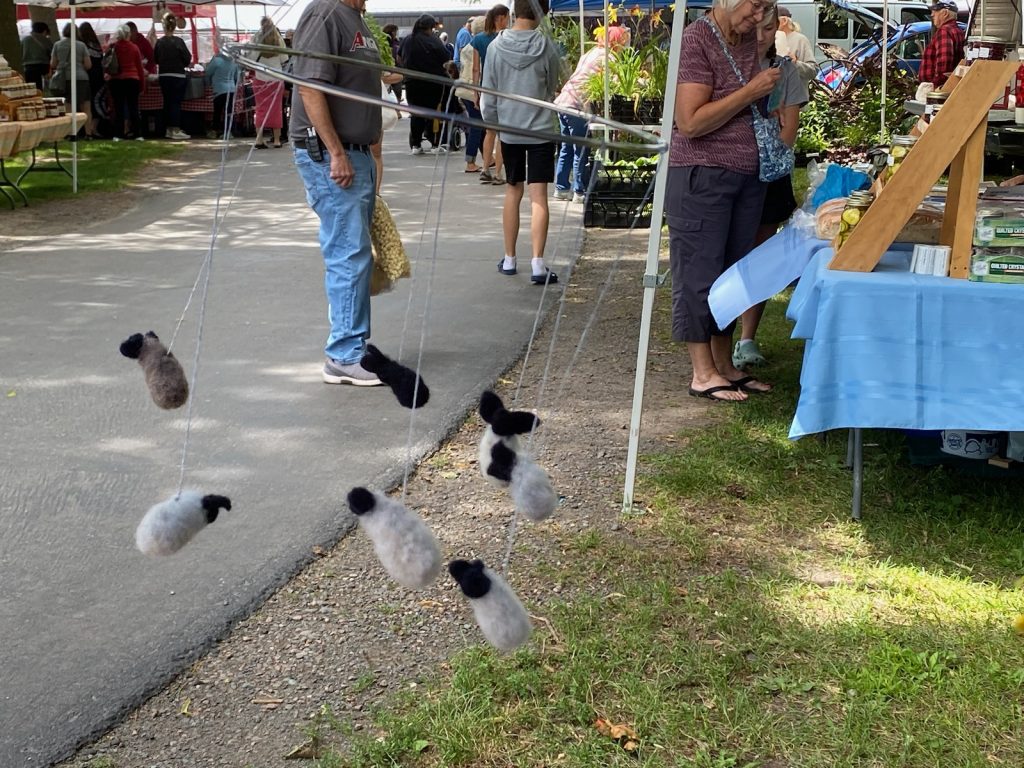
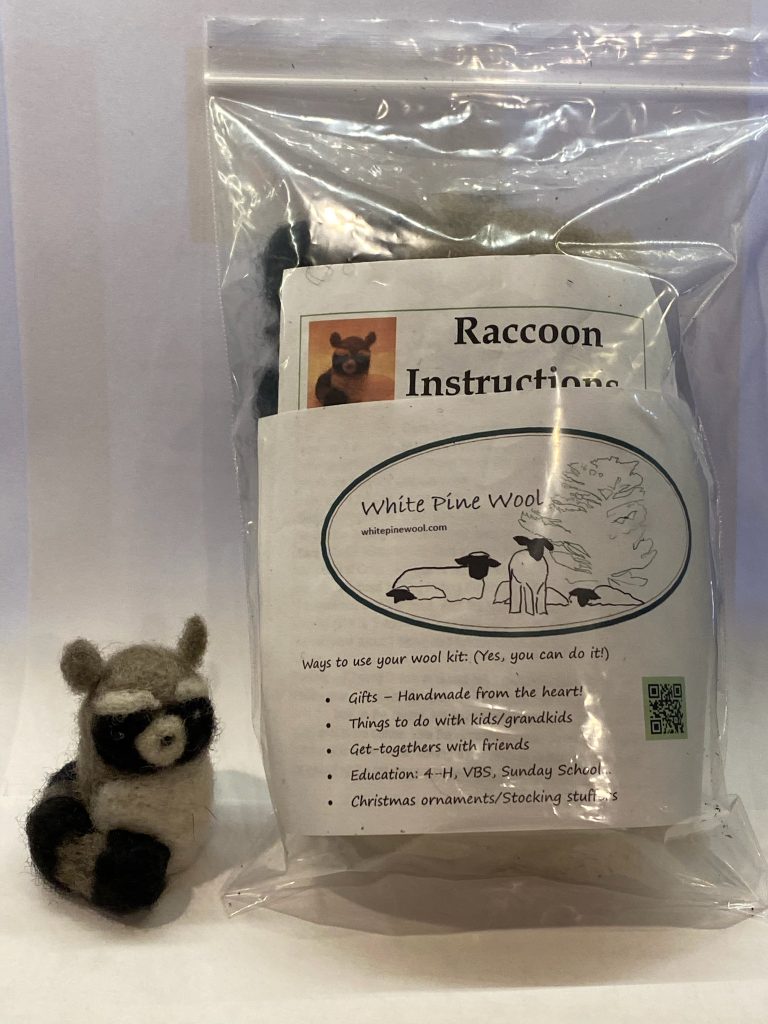
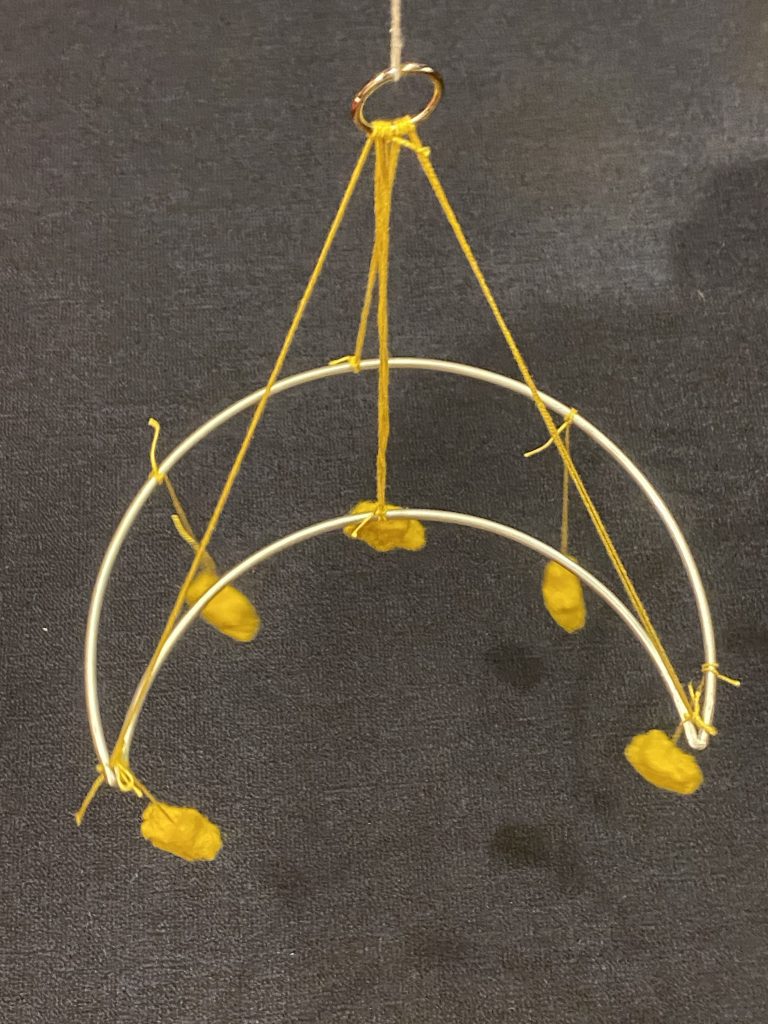
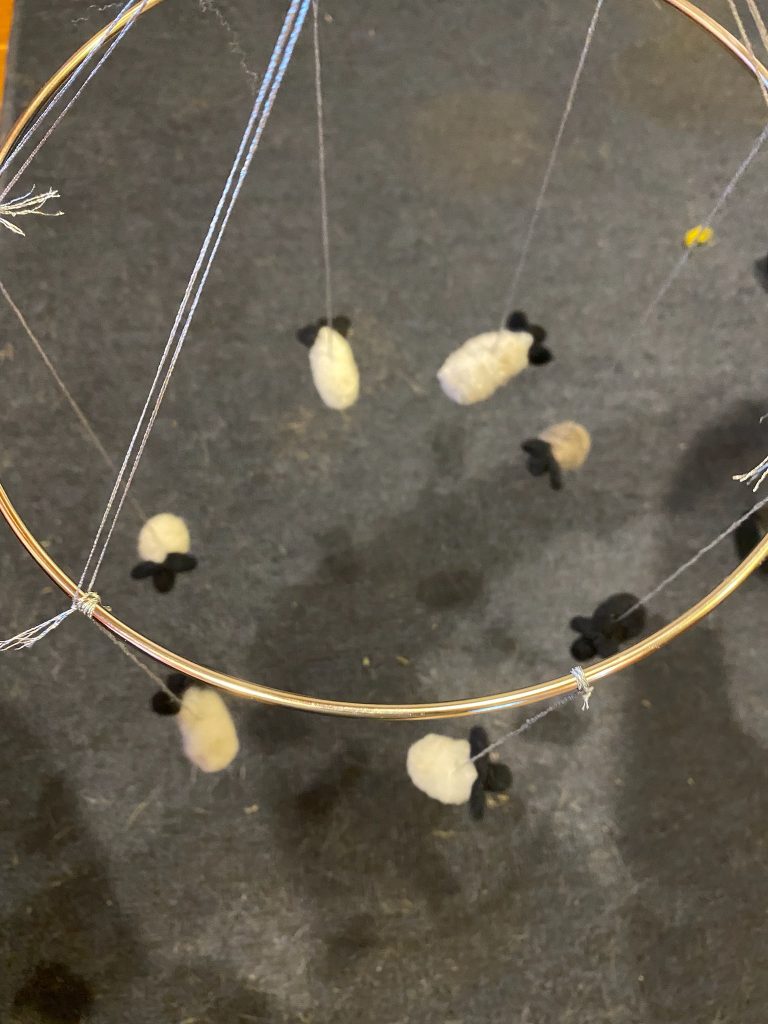
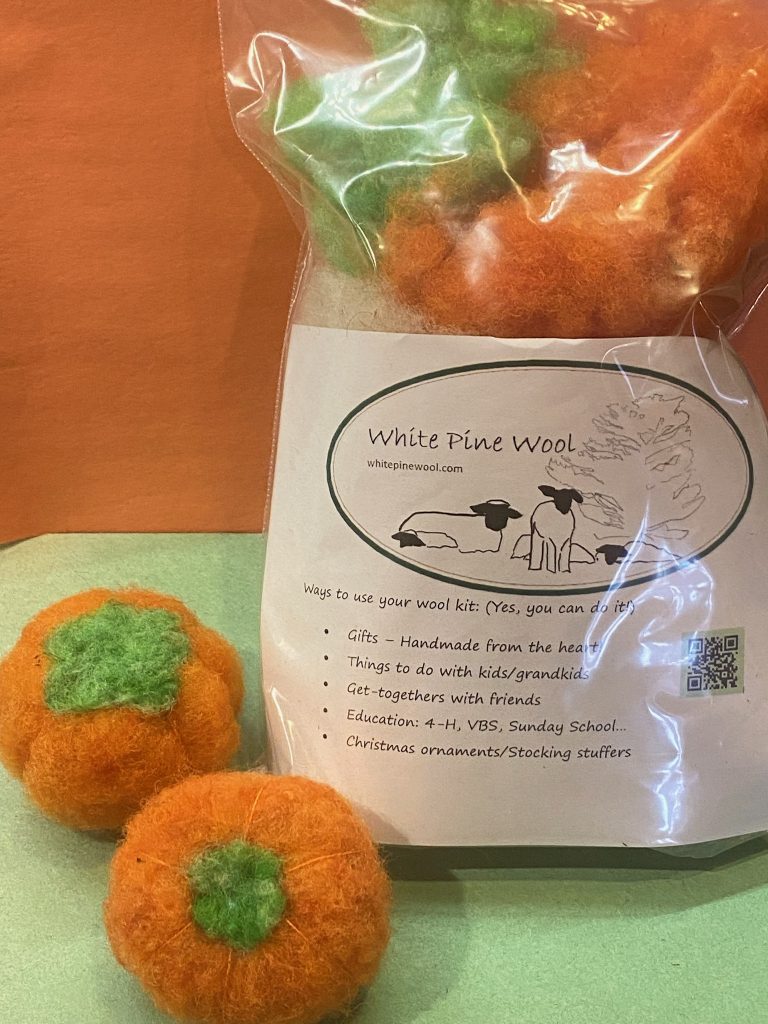
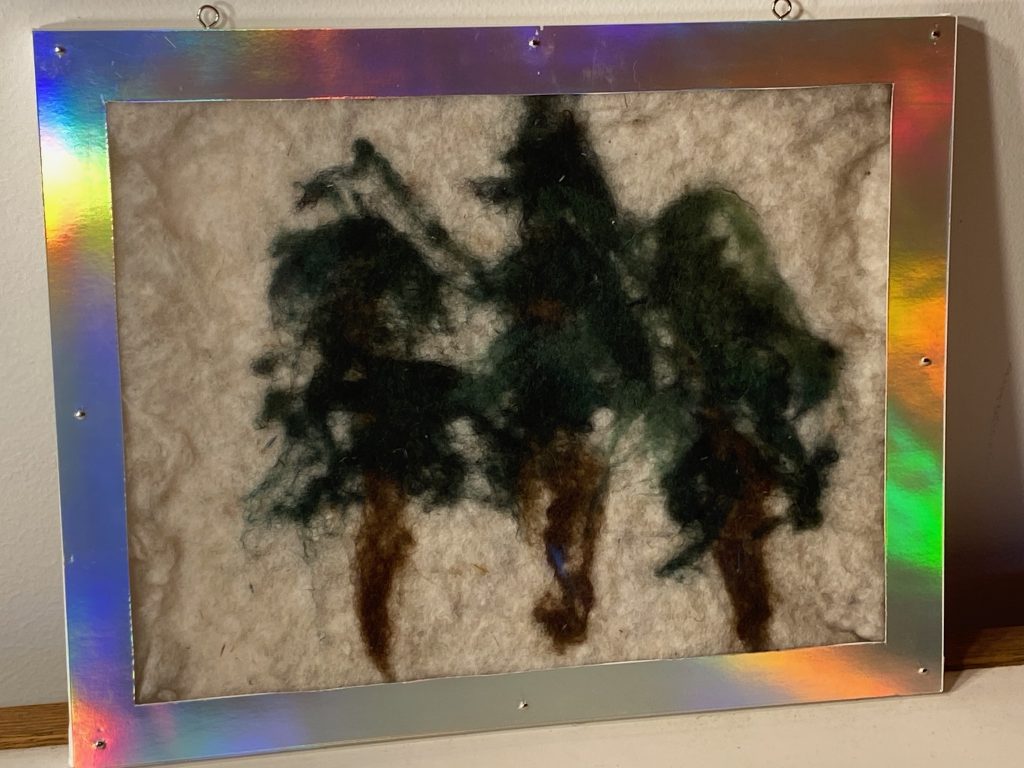
- Use it now: This is where the fun really begins! You can purchase felting needles and foam to work on at any craft store (e.g. Hobby Lobby) quite inexpensively and make 2D or 3D creations – your only limitations are time, interest, and imagination. The wool can be felted onto a piece of fabric and secured in a picture frame or made into small (or large) animals, flowers, plants, anything. Searching online will yield many project ideas! Or, try a wet felting process with a rolling pin, some towels, a piece of tulle (netted fabric), some bubble wrap and a cookie sheet (with sides) with hot soapy water.
It’s not too hard, and the results are worth the effort!!!